
PELICAN MARQUETRY BOX NO II Post VI
A whole new day, can't believe the weather, after twelve months of rain and cold the sun has apparently come out to stay.
To day the fun stuff, Marquetry for inside the lid of the box, but first tidy up the edges and veneer the inside of the box.


Love the Stanley NO 75 I found at our local car boot market.

I'm using the pattern from the previous pelican box project for inside the lid, I've got some other ideas but need to try them first,

like the one, that was emailed to me the other day.

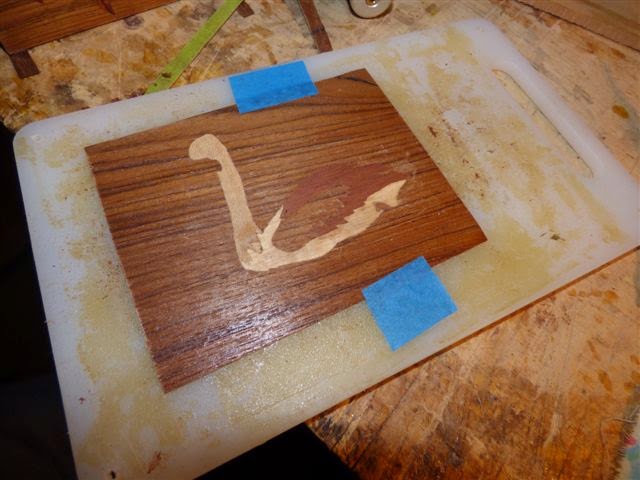
I'm using Silver Ash for the pelican.


As usual I cut out and glue each piece individually.

Using a gas soldering iron or hot sand to do the shading.


By tapping the inlay piece with a small hammer will spread the veneer and close any small gaps.

For the black feathers, I use a small blowtorch to singe a piece of Red Cedar.

Continue working around the marquetry pattern.


Smooth the back of the marquetry. This can be done with a scraper, small hand plain, router or just sandpaper.


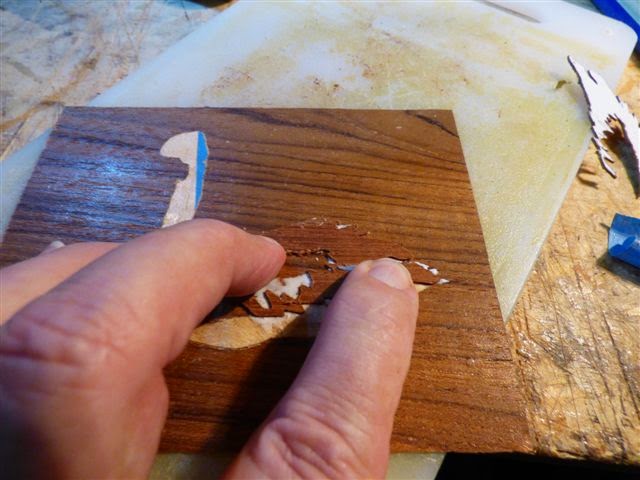
Oops, accidents happen, but very few are fatal. I just applied a small amount of glue along the broken edge, press together and secure with tape until the glue is dry.

It joined up fine.

Sand and oil the veneer, it is much easier to apply the finish before the veneer is glued into the lid.


Glue the finished marquetry into the lid.
Thanks again for visiting my blog, you can email me holmesp06@gmail.com
No comments:
Post a Comment