
NEW, NEW YEAR RESOLUTION I am going to find the time to do some blogging!!! after four funerals and a wedding (the wedding was wonderful and we are so glad we were able to make the trip), I hope life can settle down to a period of peace and tranquillity.
MARQUETRY How it works
MARQUETRY How it works
In answer to a number of questions I am going to do a series of posts describing step by step how I go about do marquetry.
Planning is always a good place to start, so I will start there. I am for this exercise going to use Google SketchUp 2015 to draw the plans, I using Google SketchUp as it is very user friendly and available as a free download from Google (these are nice people).


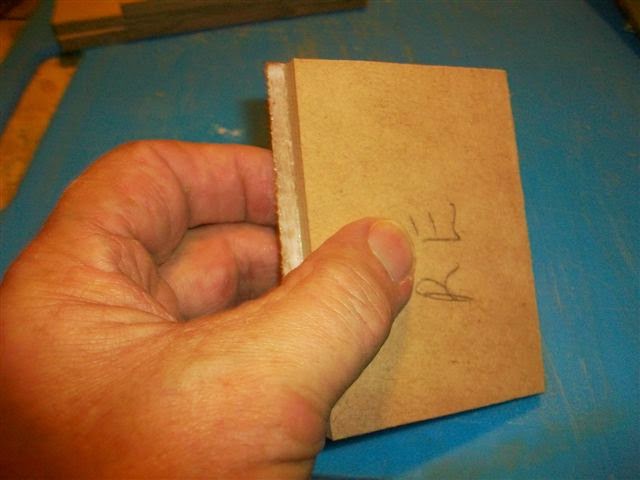
I have cut the rough sides out f the scraps of MDF, using my first Japanes saw (after first trimming the side of my finger) and a bit of practice I love it, also being in the wheelchair it is much easier to use and get an accurate cut with the cutting action happening on the draw stroke. I love all my old saws but they may now go into semi retirement.

Now the basic planning is completed.

Next is to select a piece of scrap veneer wide enough to cover the bottom of one of the sides.


Apply glue to both surfaces, clamp together and allow the glue to dry.


Put the two pieces together and clamp until the glue is dry.

I use this home made veneer saw to cut the veneer, using a straight-edge.

By holding the veneer saw very lightly pull across the veneer.

After several parses I finish with a clean cut.


When the glue is completely dry, using the veneer saw I trim the edges and lightly sand.


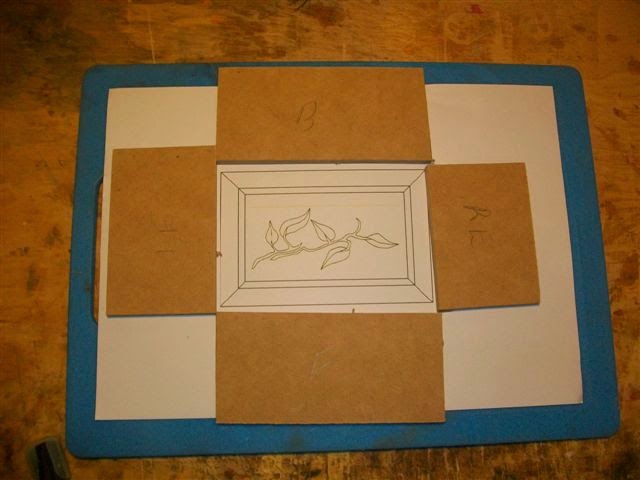
The box I am going to make is a very basic rectangle 130mm long X 85mm wide and 65mm deep the walls are 7mm thick.
The frame of the box is simple scraps of MDF left over from previous projects.
The veneers are again manly scraps that I hate to wast, along with a couple of larger pieces.
I have already started to change the plan, I have decided to leave the back of the box plain as it would look to crowded with the larger than normal wood hinged, I have also left a gap in the middle of the front marquetry for a carved wood latch.
I have cut the rough sides out f the scraps of MDF, using my first Japanes saw (after first trimming the side of my finger) and a bit of practice I love it, also being in the wheelchair it is much easier to use and get an accurate cut with the cutting action happening on the draw stroke. I love all my old saws but they may now go into semi retirement.
Next is to select a piece of scrap veneer wide enough to cover the bottom of one of the sides.
Apply glue to both surfaces, clamp together and allow the glue to dry.
Continue with the other three sides.
Select a piece of veneer and one of the sides apply glue to both surfaces, allow the glue to go tacky.
Put the two pieces together and clamp until the glue is dry.
I use this home made veneer saw to cut the veneer, using a straight-edge.
By holding the veneer saw very lightly pull across the veneer.
After several parses I finish with a clean cut.
Again apply glue to both surfaces, allow to become tacky and then clamp together.
When the glue is completely dry, using the veneer saw I trim the edges and lightly sand.
Inside veneers are completed.
The next I rout a groove for the bottom of the box.
That is the end of part one, thanks for visiting and if you have any questions please leave a message or send me an email.
No comments:
Post a Comment